Monday, May 2, 2011

Rear end begins

Before removing the parts from the rear end I like to do a once over to see what I am working with and to take the time to shoot each bolt with some PB Blaster. You can clearly see in this shot that the rear shock was installed with both rubbber bushings. There should only be one, unless it is a through hole mounting surface at which time you would install one on each side of the mount.


This just shows the rear end before I performed any work. The rear exhaust pipe will be removed at a later date. Also note that the rear brake lines look very old. I will replace these later with new brake lines. No cost.


In this shot you can see the snubber. It is a rubber bump stop that prevents the rear axle from compressing all the way up into the body. The directions for the stage three kit require the stubber to be removed. Plasma really helps here since it would be difficult to get a grinder into this location.


Here you can see that the shock mounting bolt has been broken in the past. There is no need to remove the broken bolt since the rear shock mounts are not used with this kit.


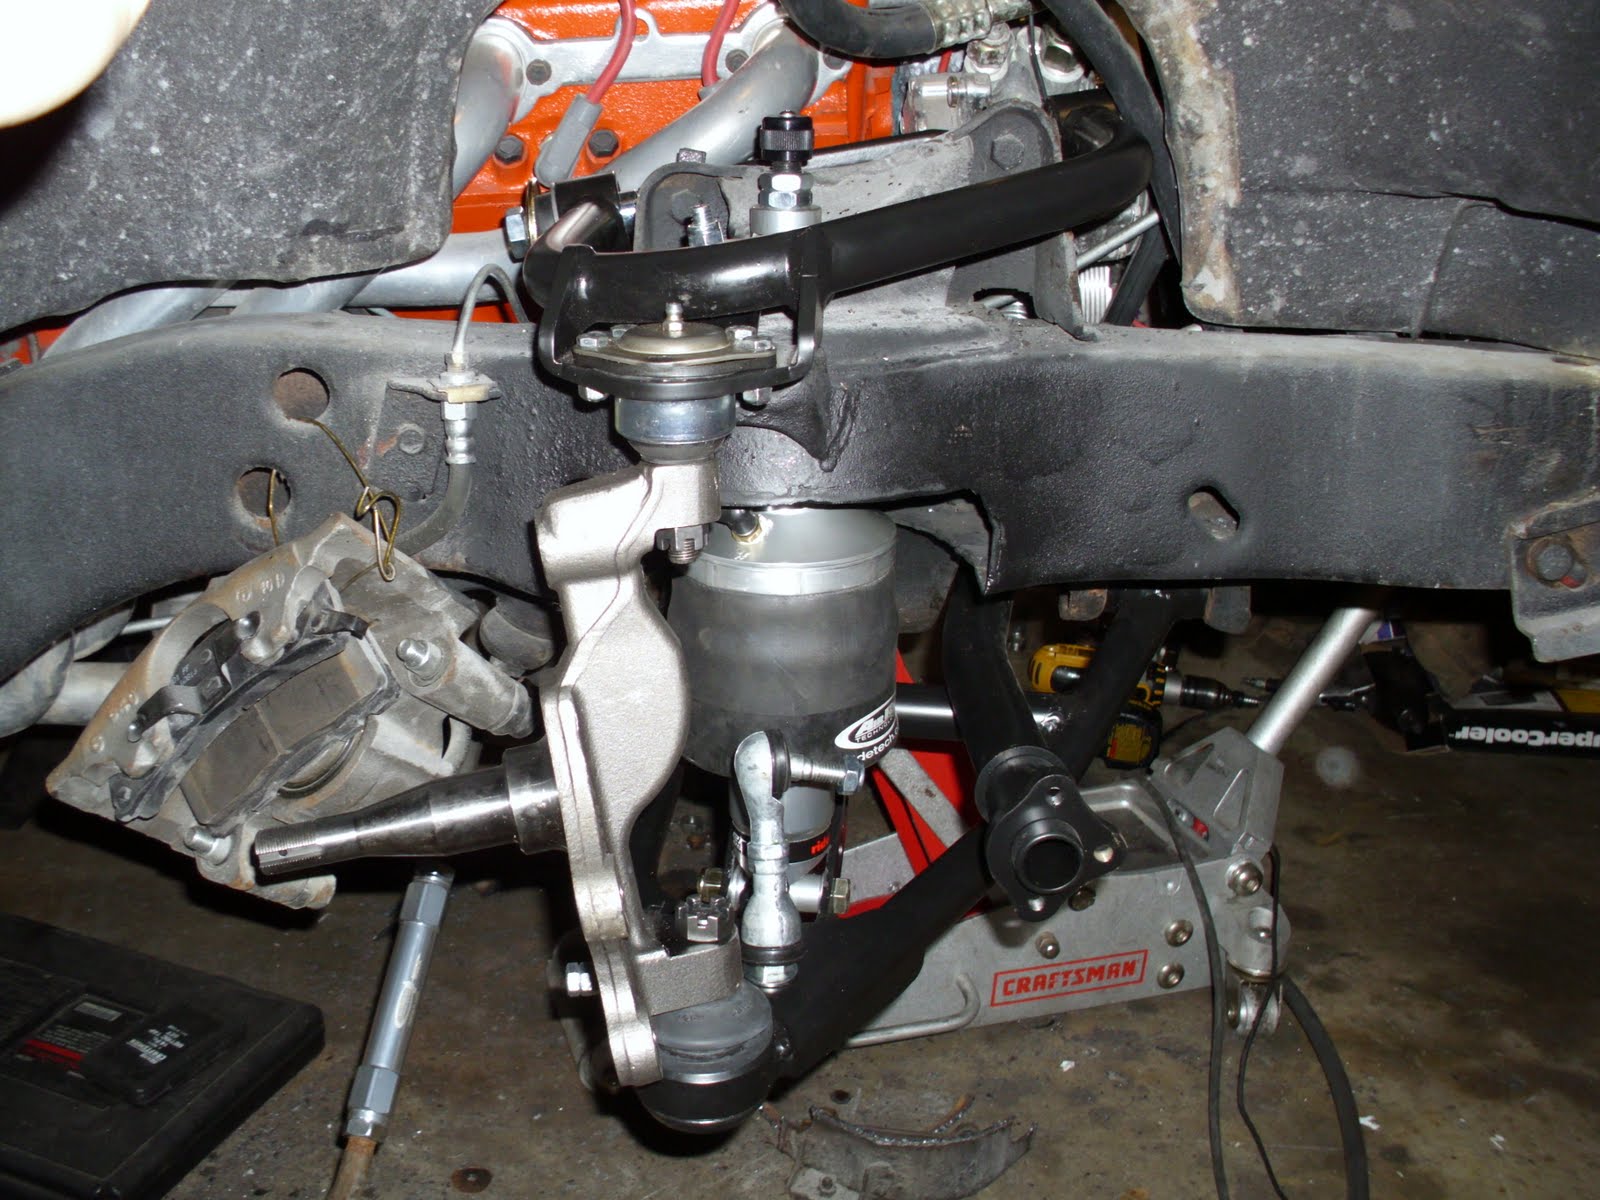
This picture shows the stock suspension before any of the new parts are installed. You may also notice the new AIRBAR positioned under the vehicle. The AIRBAR is a well made part.


Second Setback

The second setback I had while installing this stage three kit was the spacers that are required to be installed between the mounting surfaces of the lower A-Arm and the lower shock mount were missing from the kit. I called Ride Tech and they immediatley shipped out a new set. On this issue the guys at Ride Tech provided very good service. Although it should have been avoided by better quality controls during the packing process. The spacers arrived the following week and the shocks were installed. No problem.

Aluminum tie rods connectors

These are the new aluminum tie rod connectors that were included with the ride tech stage 3 kit. They installed without any issues. I measured the original lengths and set the new parts to the same length.


Nice and clean. Very well made parts.

Plasma cutter required

The most involved part of this install (so far) has been the cutting that is required around the airbag mounting area. The airbags expand when the air is released and require more free space around them to ensure there is no contact with the frame of the car. The directions provided by ride tech state several times in large print that any contact between the body and the airbags will void the warantee.


This picture is only for illustration purposes. You should never cut the frame with a plasma cutter with the airbags installed. The melted metal slag would destroy the rubber on the shocks. This picture gives you an idea for how much metal was required to be removed.


Im just pointing to the location of where the metal was cut away.


Spindle issue

This picture clearly illustrates the gap betweent he spindle and the caliper backing plate. After I machined a set of spacers to fill this gap I also had to machine the head of the bolts used at this location because they did not have adequate clearance and had made contact with the brake rotors in the past.


One of the first issues I ran into while installing this kit is the front spindles are offset on top about 1/2". This may be because the vehicle already had aftermarket front brakes and when I installed the new spindles the top bolt was offset. I'm not sure if this was a factory setting or not but a work around was easily overcome by the use of some custom machined spacers between the backing plate and the spindle.


This is the hole that is offset 1/2" to the rear.


Here is a side shot of the same hole that is offset to the rear.


Here you can see the entire spindle installed and the top bolt location.


Ride Tech Stage 3

I got the firebird up on jack stands and began taking the old parts off the vehicle.


Here is a nice picture of the rear of the vehicle. You can see the tailpipes are sticking out about 4 inches. Those will be removed in order to install the Ride Tech Stage 3 kit. The new tailpipes will have to run under the rear axle since there will not be any room over the top.


Parts are all over my garage. Nothing new around here.


Sunday, March 27, 2011

Genes 1967 Firebird Project Begins

This blog will document the installation of a Ride Tech Stage 3 airbag suspension system on a 1967 Pontiac Firebird. The project will be relatively quick compared to earlier projects connected to my profile. I hope you enjoy it as much as I enjoy building the project.